
How to Take Better Vacation Photos With Your Phone
I sometimes take my big camera on vacation with me, but I often find that I end up taking the majority of my photos with my iPhone. Paying a little attention to composition and doing some simple edits make a HUGE different in phone photos - here are some tips (and all of the example photos are from my phone!):
1. QUICK SETTINGS TO IMPROVE YOUR PHOTOS
Settings → Camera
Grid helps with composition & the rule of thirds (place your subject along the grid lines or at their intersections)
Level keeps horizons straight
Lens Correction reduces distortion
Prioritize Faster Shooting great for action & kids
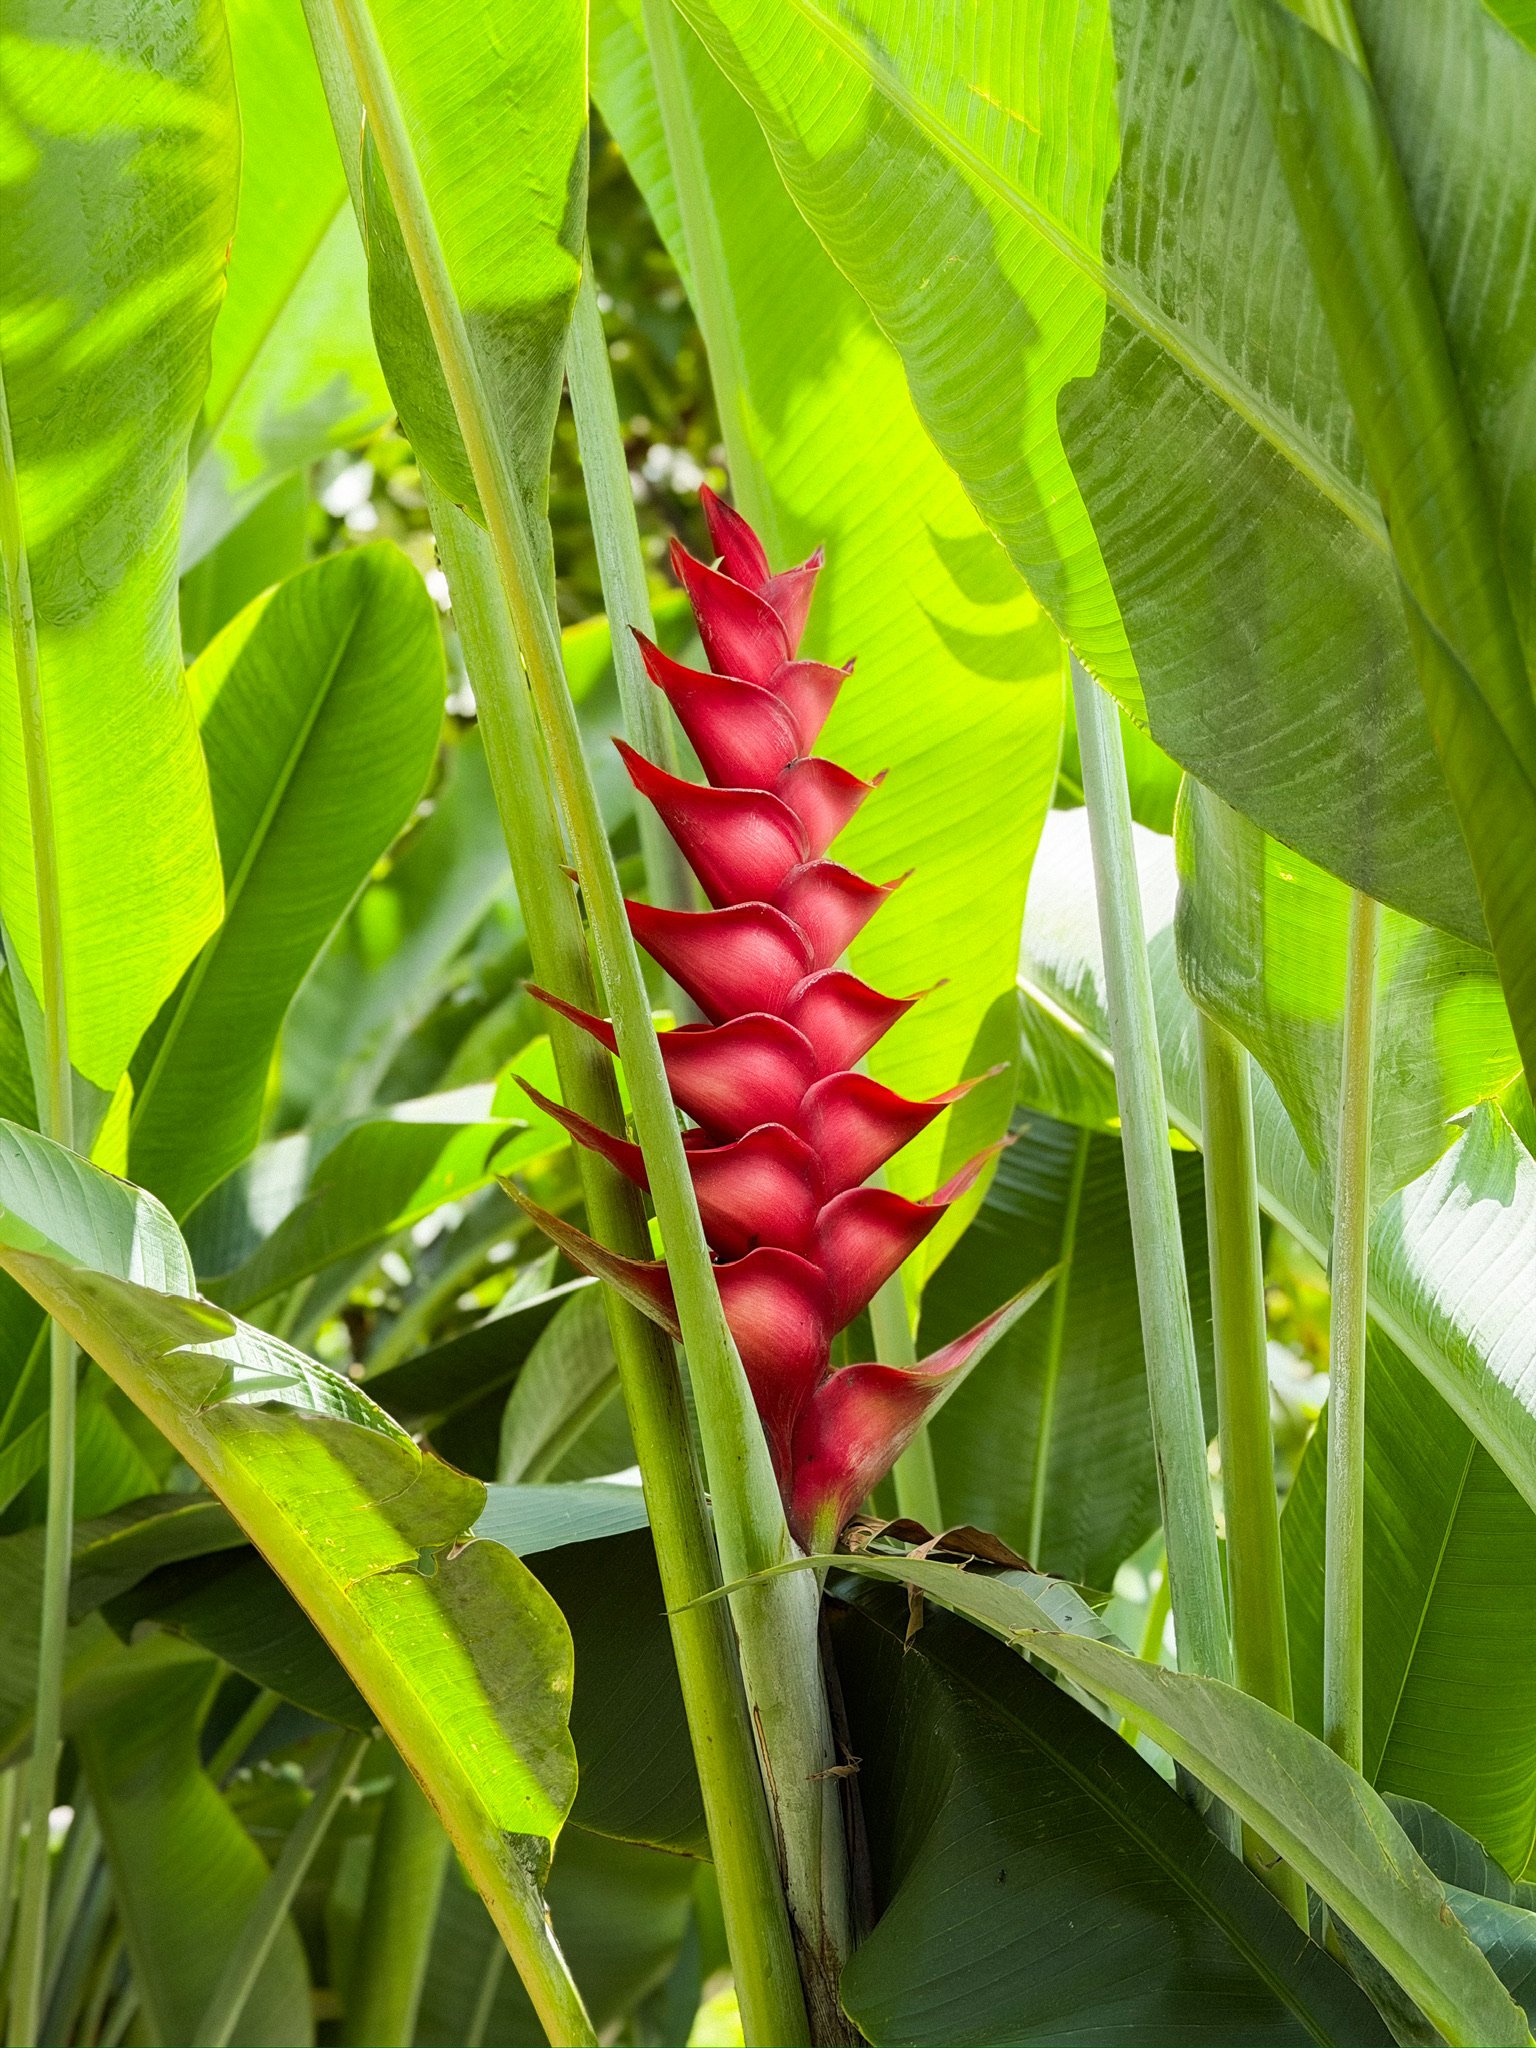
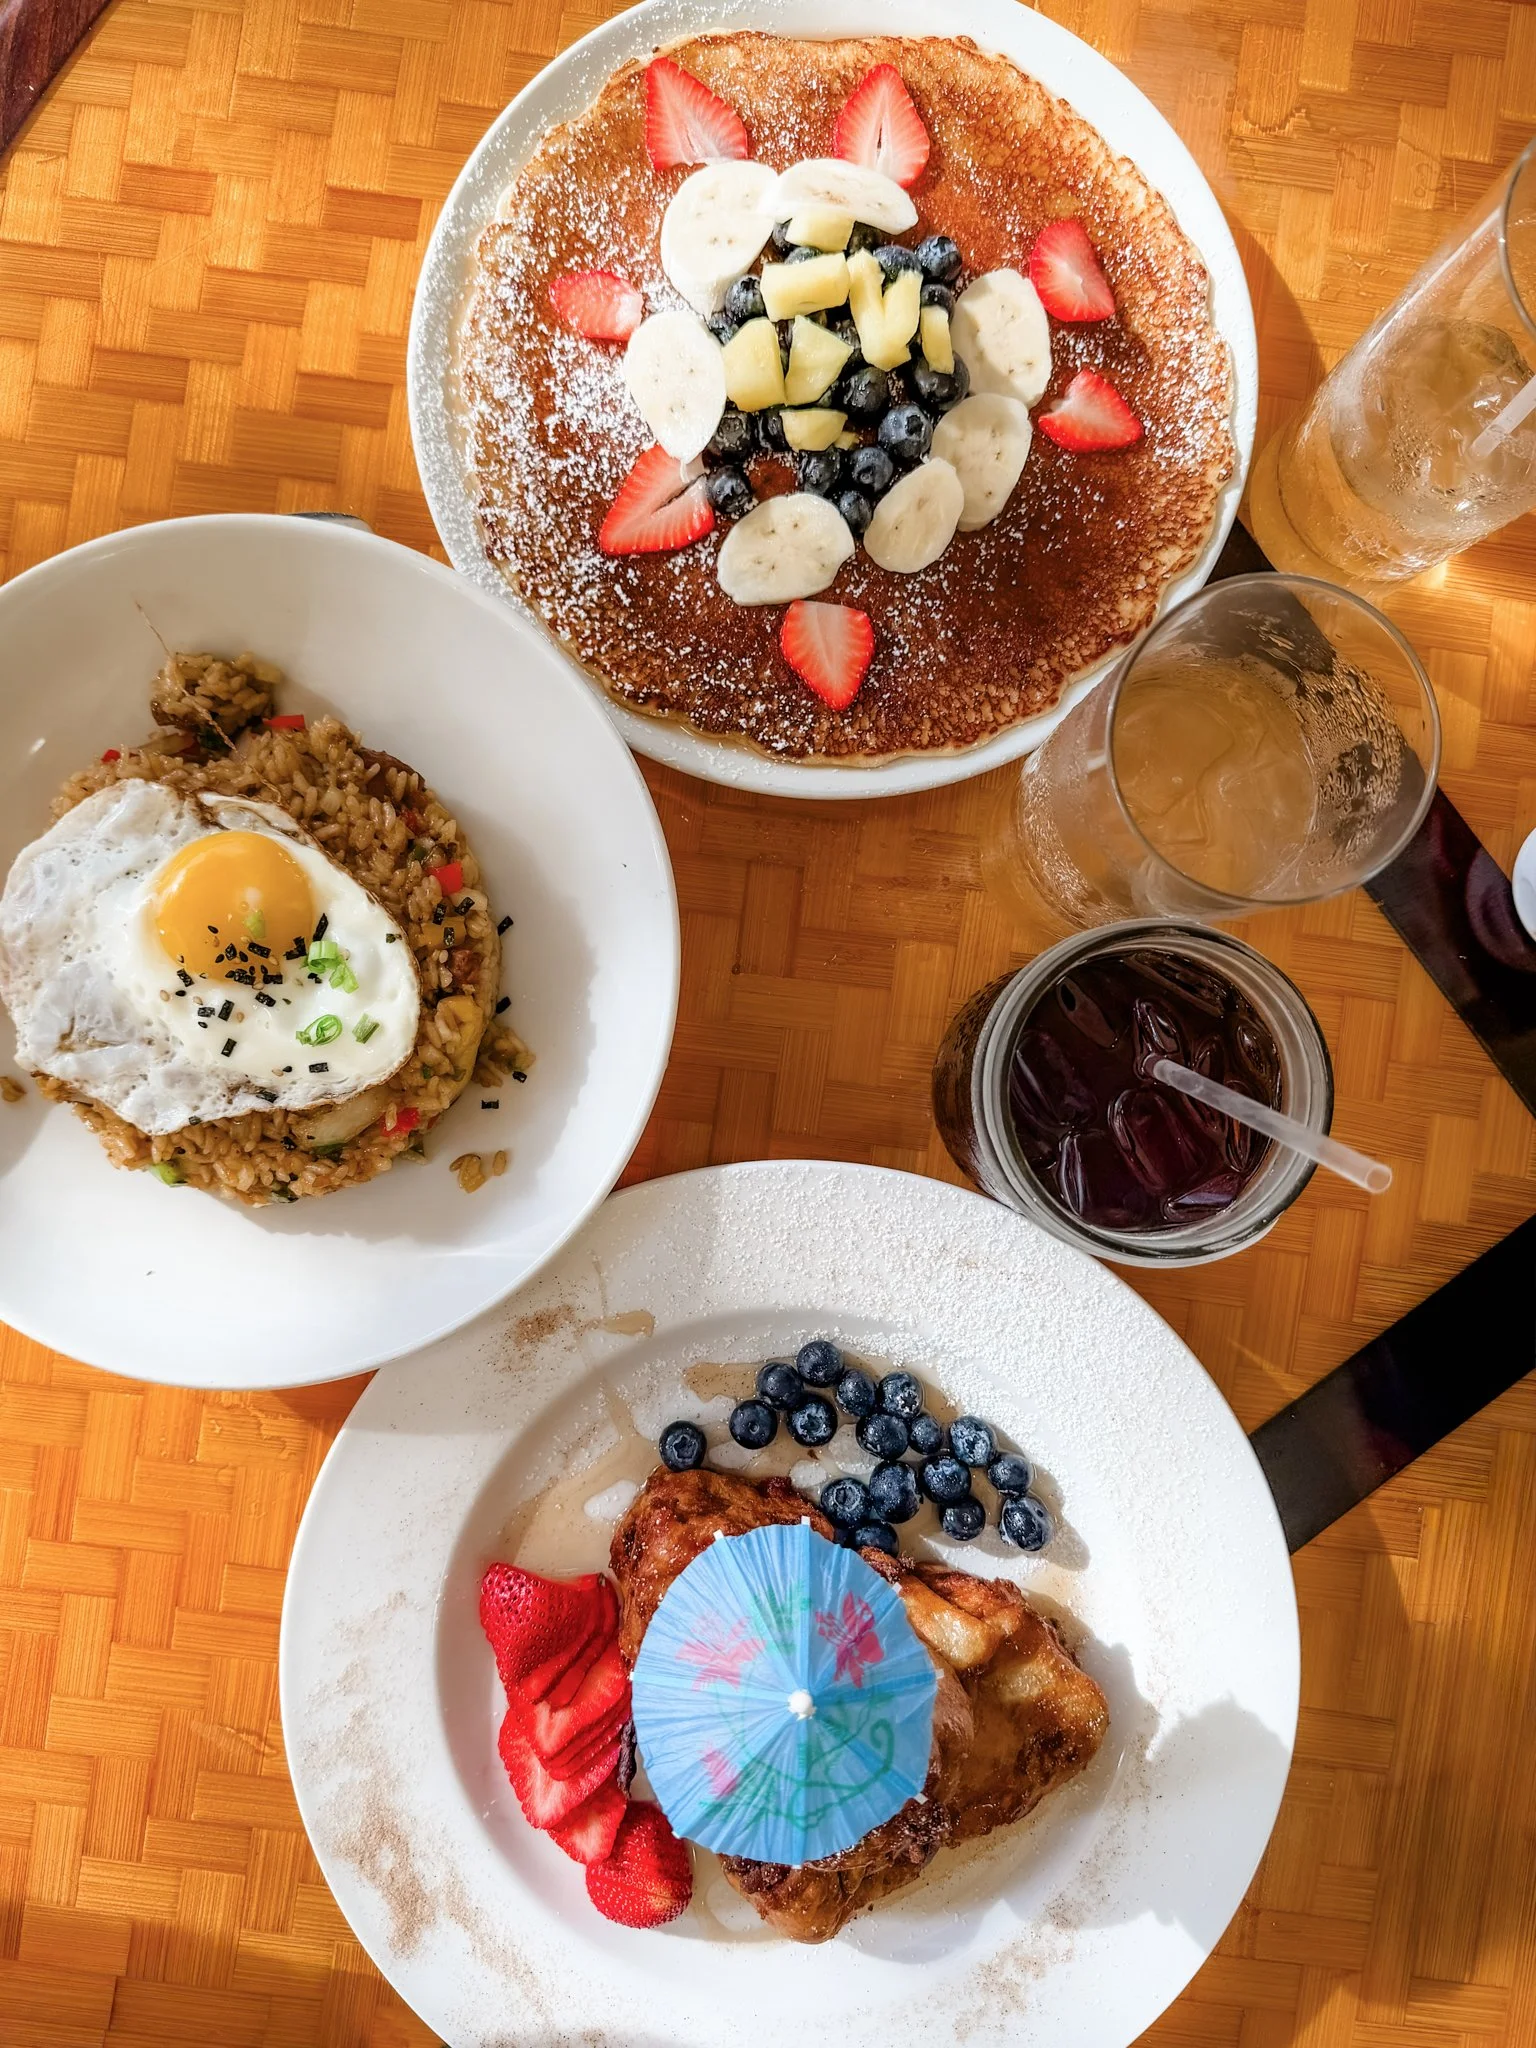
Macro Control for food, details & textures
CLEAN YOUR LENS! Lint, fingerprints, sunscreen, and humidity can make photos look blurry.
2. LIGHT MATTERS MOST
Best light: early morning, sunset/golden hour, open shade
Harsh midday sun? Find shade and face toward open sky (try not to have speckly light or weird shadows on faces)
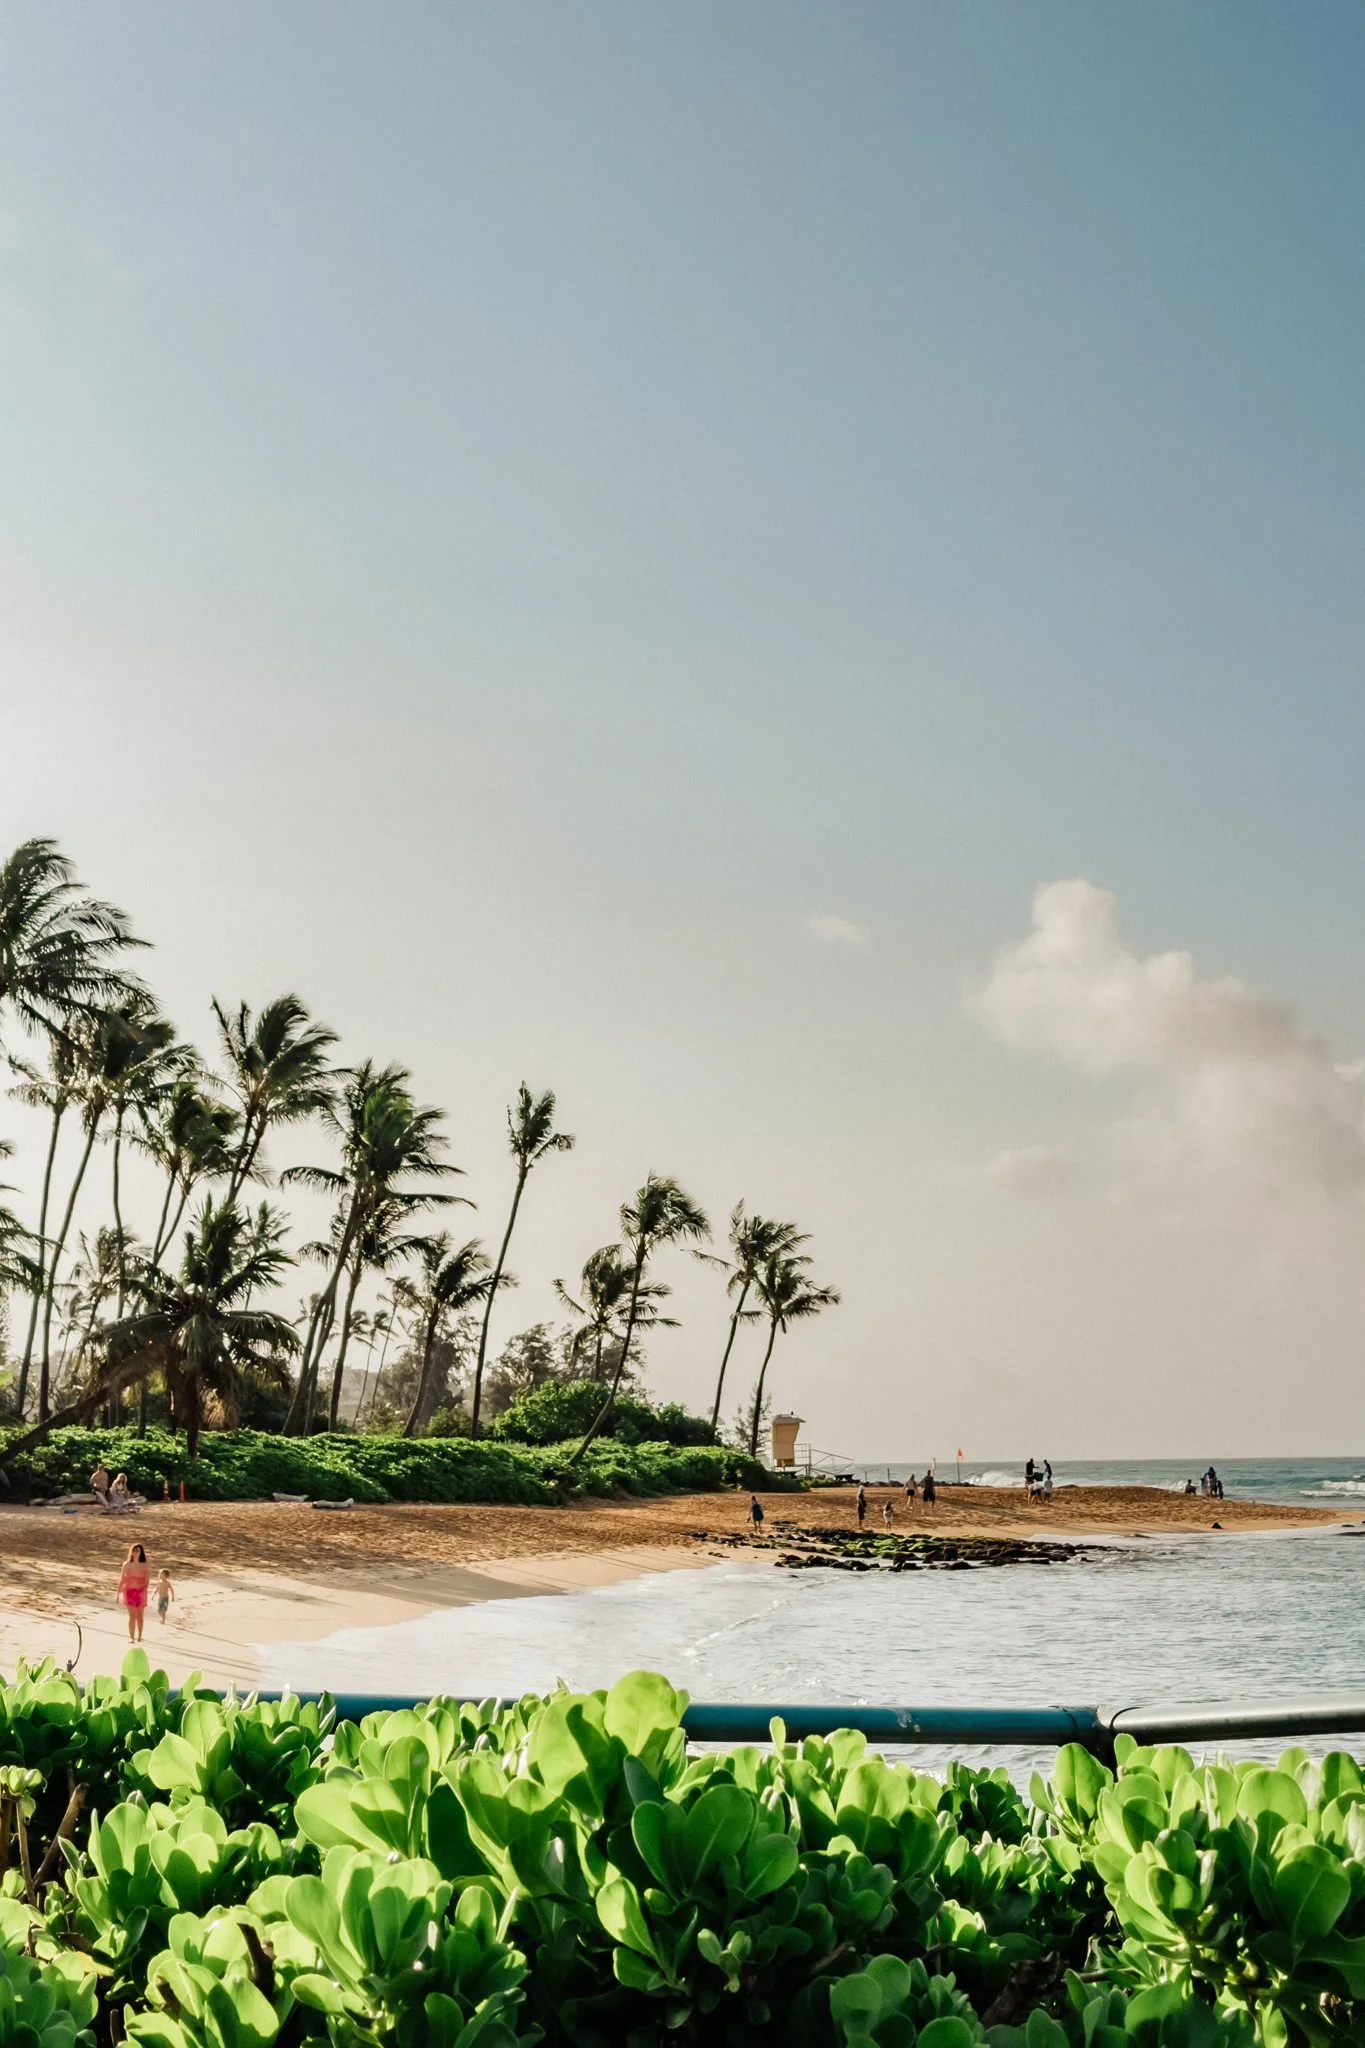
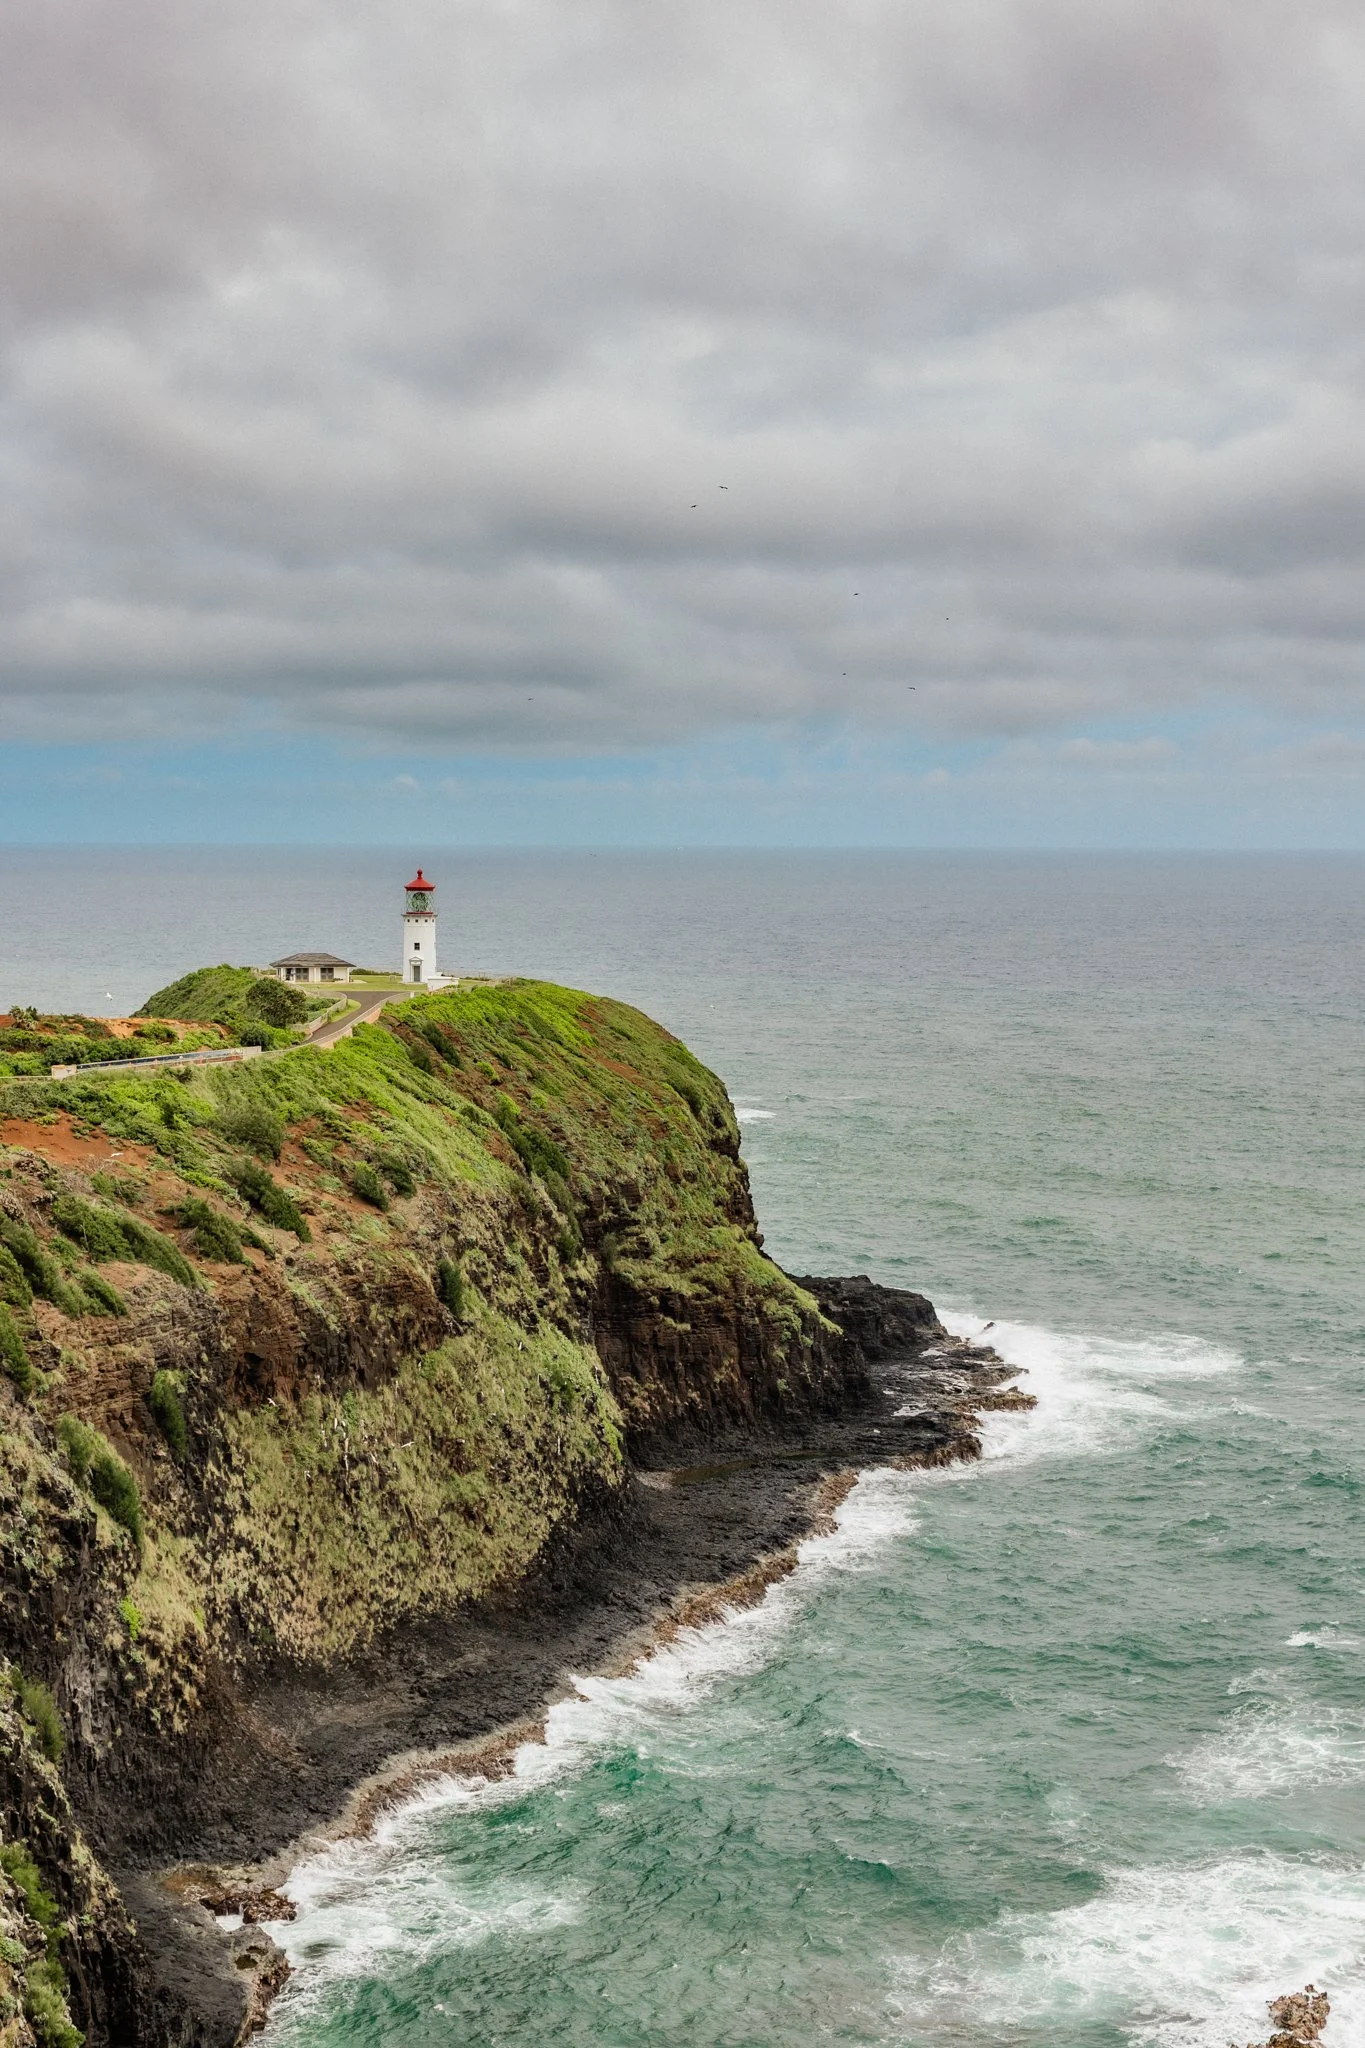
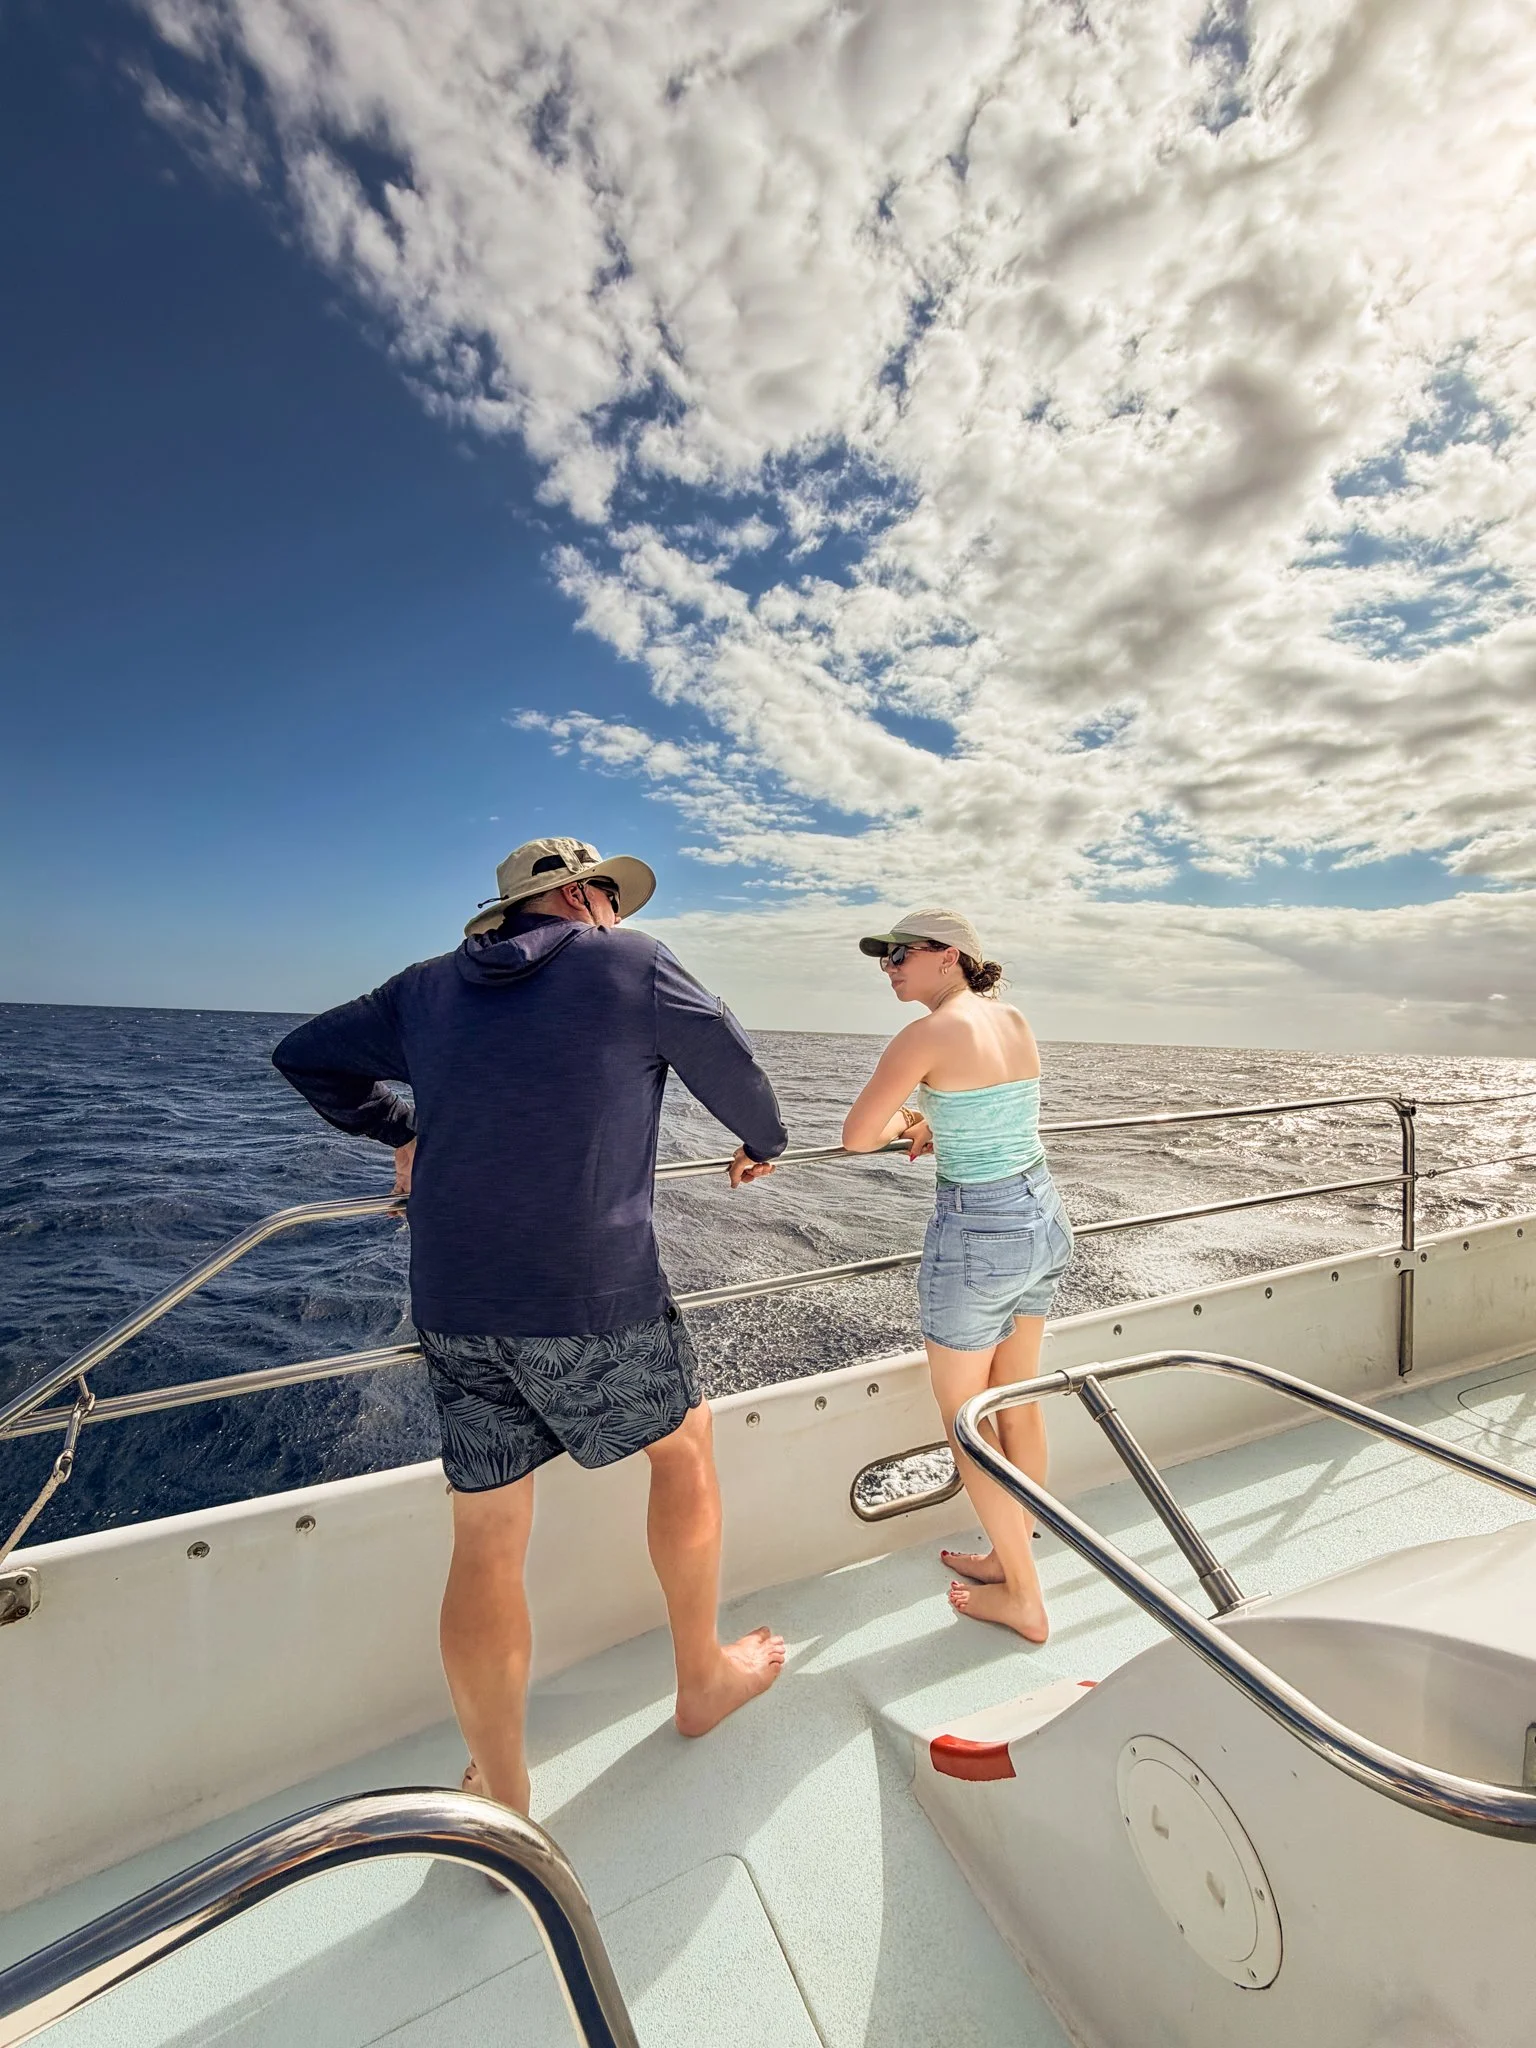
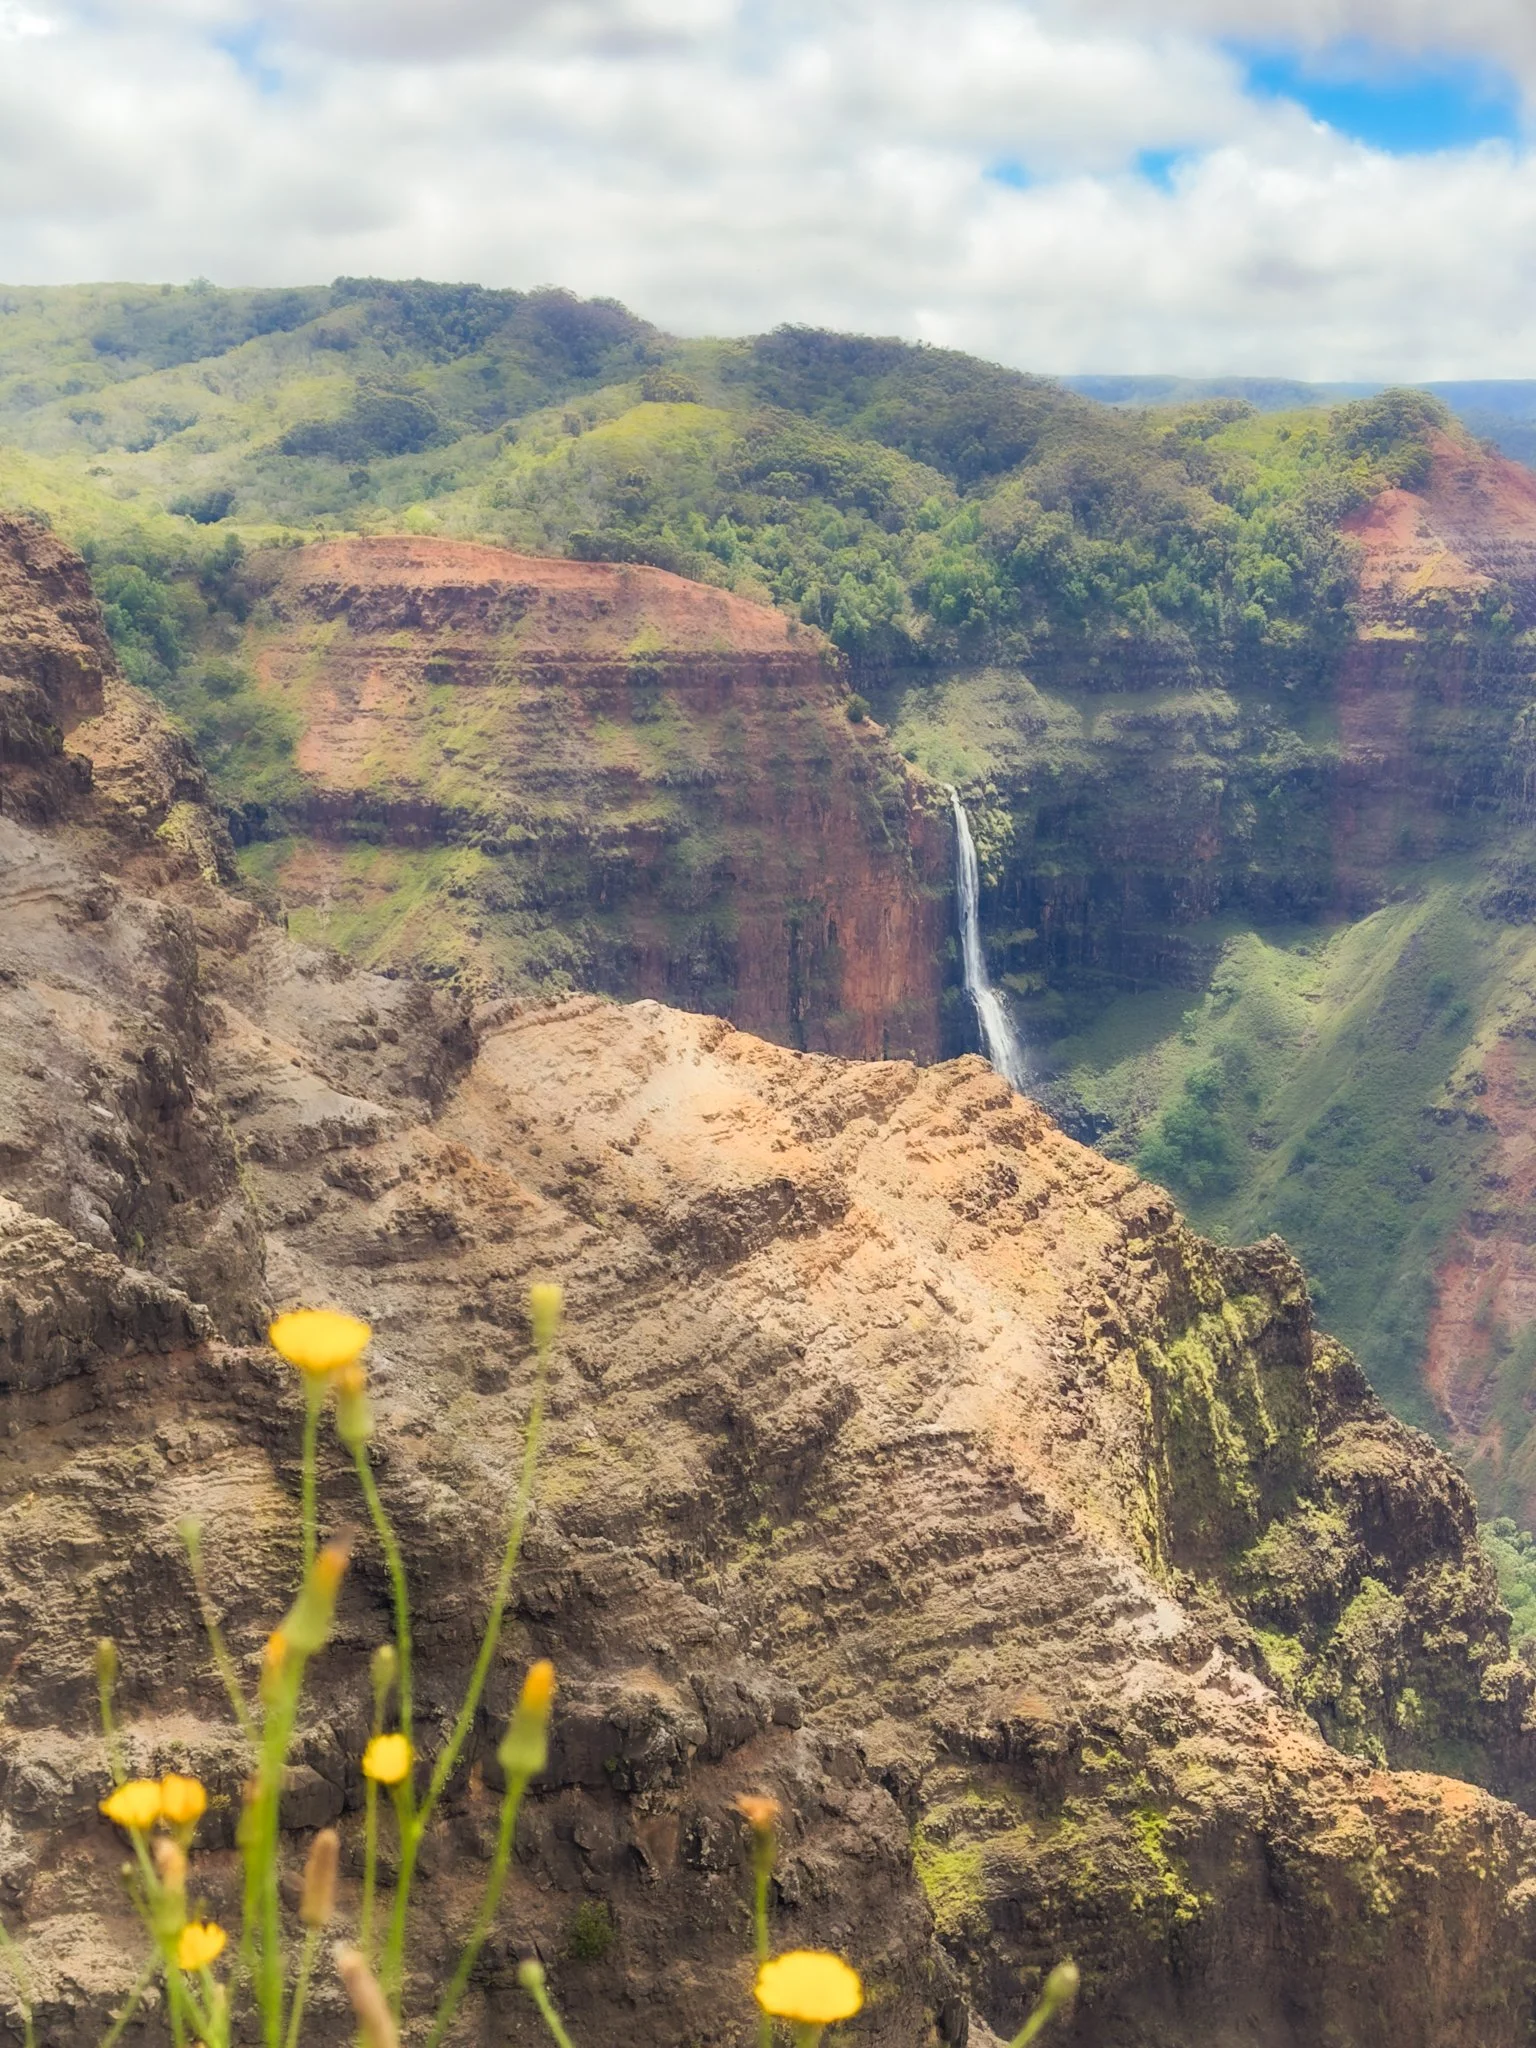
3. THINK IN THREE DISTANCES
Mix all three to tell the full story:

*Fun trick for drink or tabletop photos: flip your phone upside down and rest it on the table. You'll get an interesting low-angle perspective and some foreground depth.
4. USE OPTICAL ZOOM (NOT PINCH ZOOM IF POSSIBLE)
Use the built-in lens buttons (0.5x, 1x, 2x, etc.) — you'll get much better image quality.
Step back and use 2x for a more flattering perspective on people (if you have room)
Don't stand close and zoom out to 0.5x — it will distort people
Save 0.5x for big scenes, architecture, and tight spaces
5. COMPOSITION & PERSPECTIVE MATTER MORE THAN GEAR
Move your body! Try different angles, heights & distances
Don't take every photo from eye level and the same distance (so many people do this!)
Crouch lower, step back, get closer, shift your angle
Shooting people from above can sometimes look flattering, but if you go too high, it can give people huge heads and tiny feet. Eye level or a little lower can be better.
Use the grid + rule of thirds to create more balanced, interesting images.
Find natural frames to create interest—doorways, tree branches, etc.—and/or include something in the foreground to create depth.
Use Leading Lines to Draw Attention
Make sure trees, poles, cactus, etc. aren't coming out of people's heads. Try not to intersect heads with the horizon line.
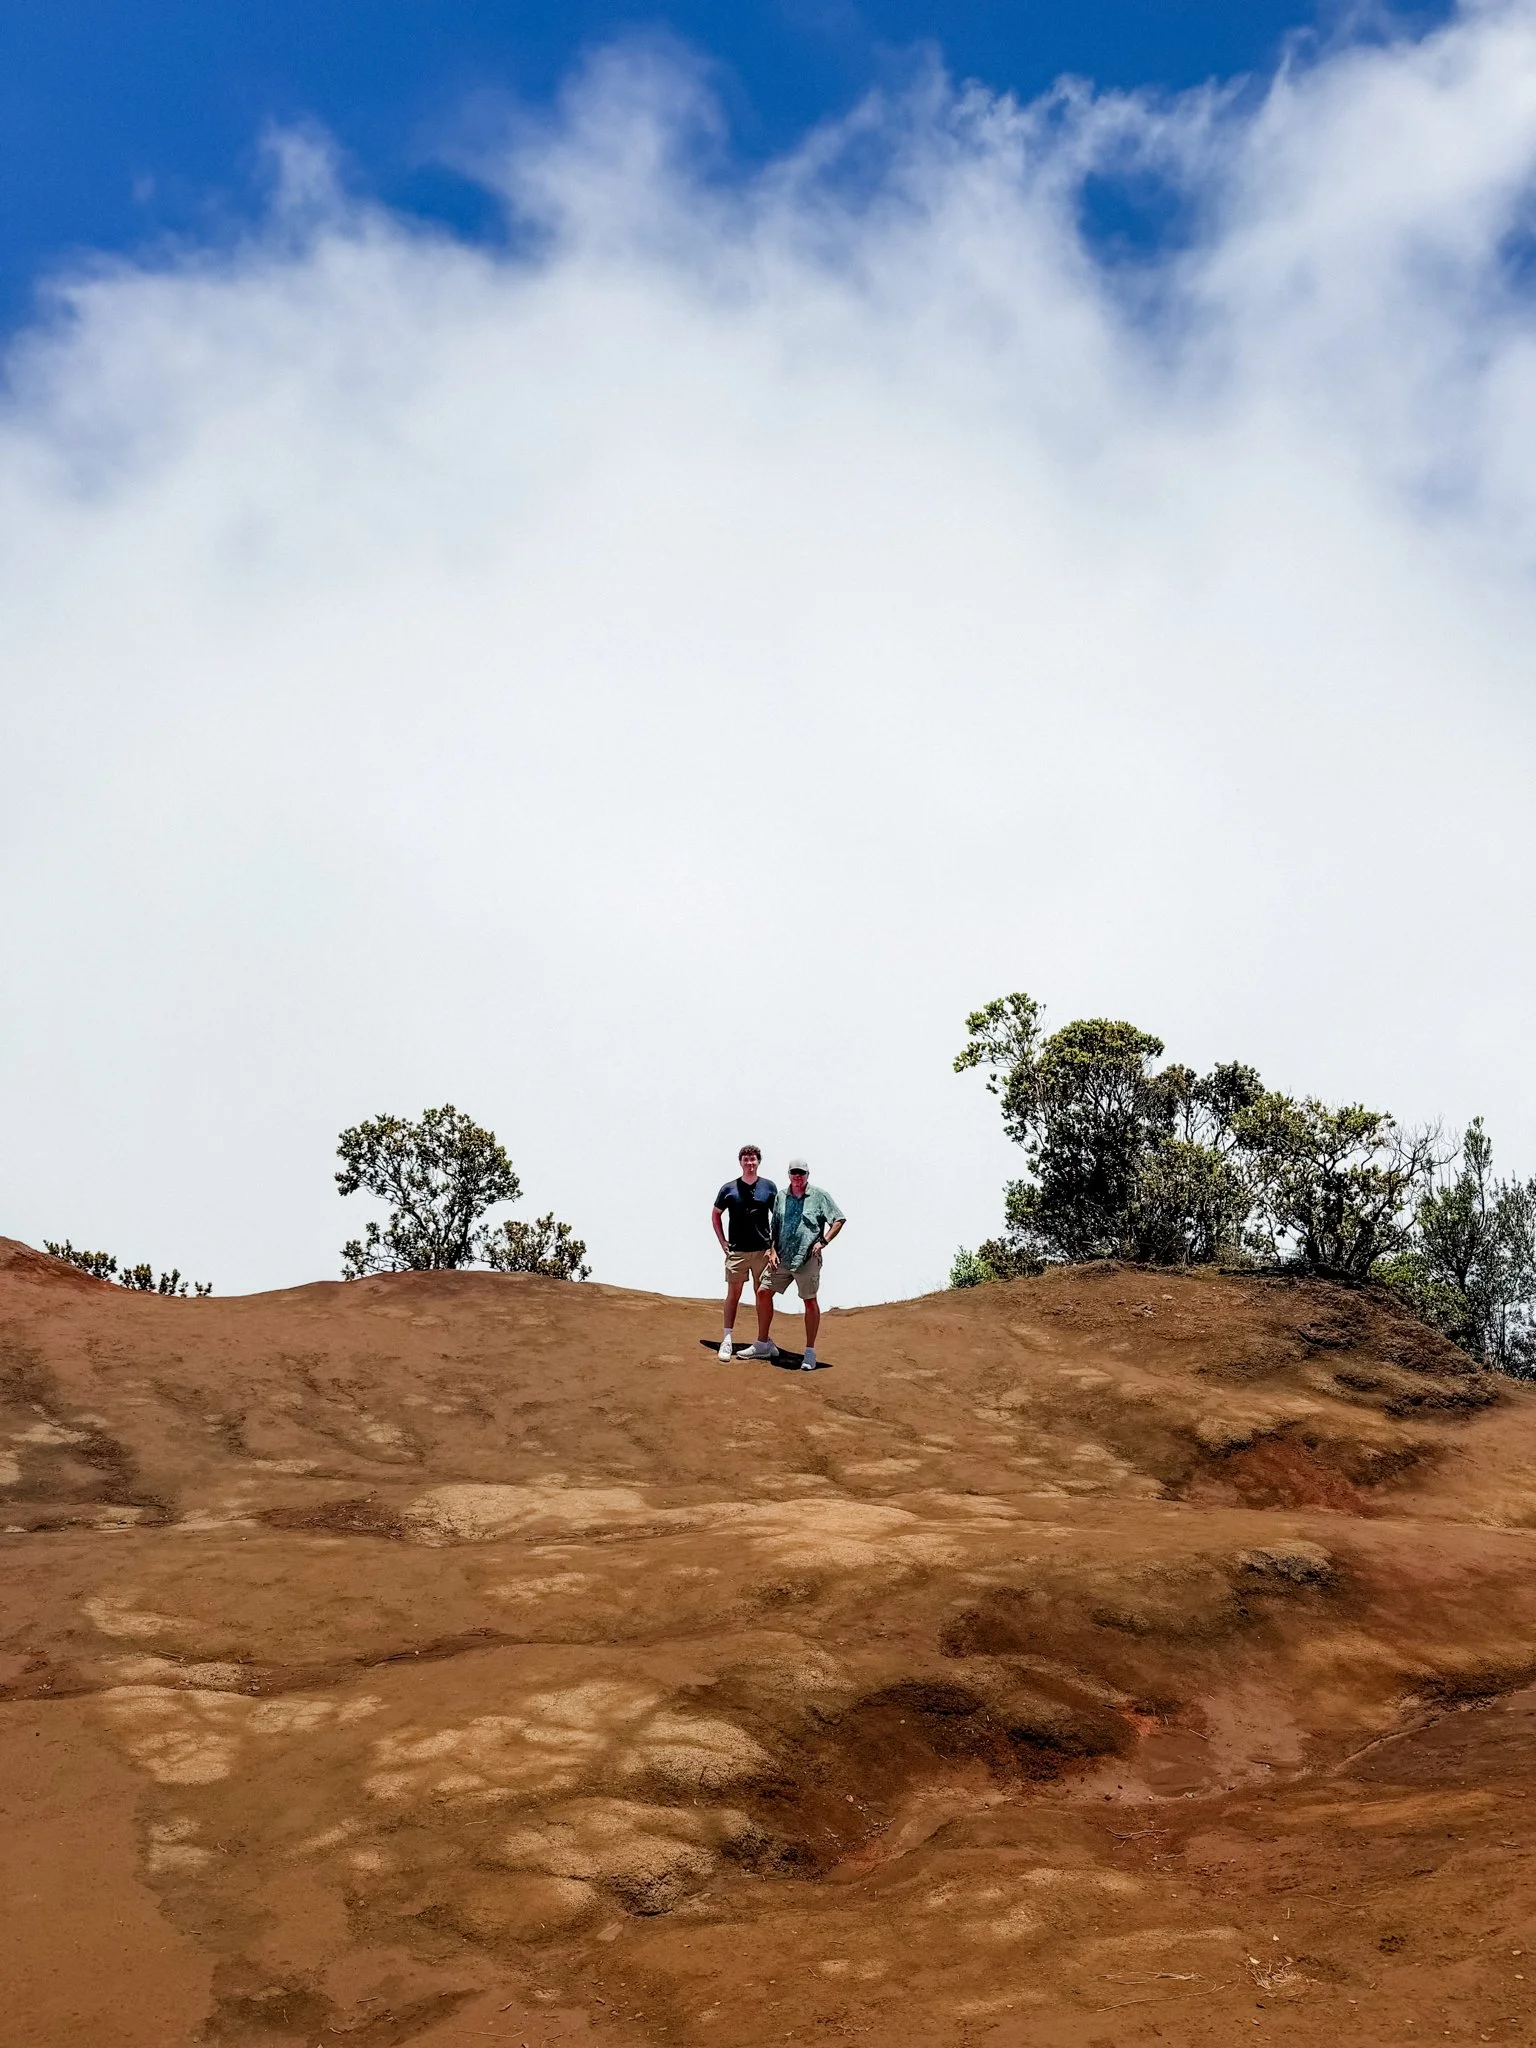
Give Your Photos Visual Breathing Room
Look at the whole frame — what adds to the story? What can you remove?
Not every photo needs a ton of empty space, but sometimes extra space or sky can emphasize your subject. Crop in or out intentionally.

6. QUICK SHOOTING CHECKLIST
Look at the light
Consider what your photo is about
Simplify the scene (remove visual clutter, change your angle to eliminate distractions, etc.)
Take multiple versions: wide, medium, detail, vertical, horizontal
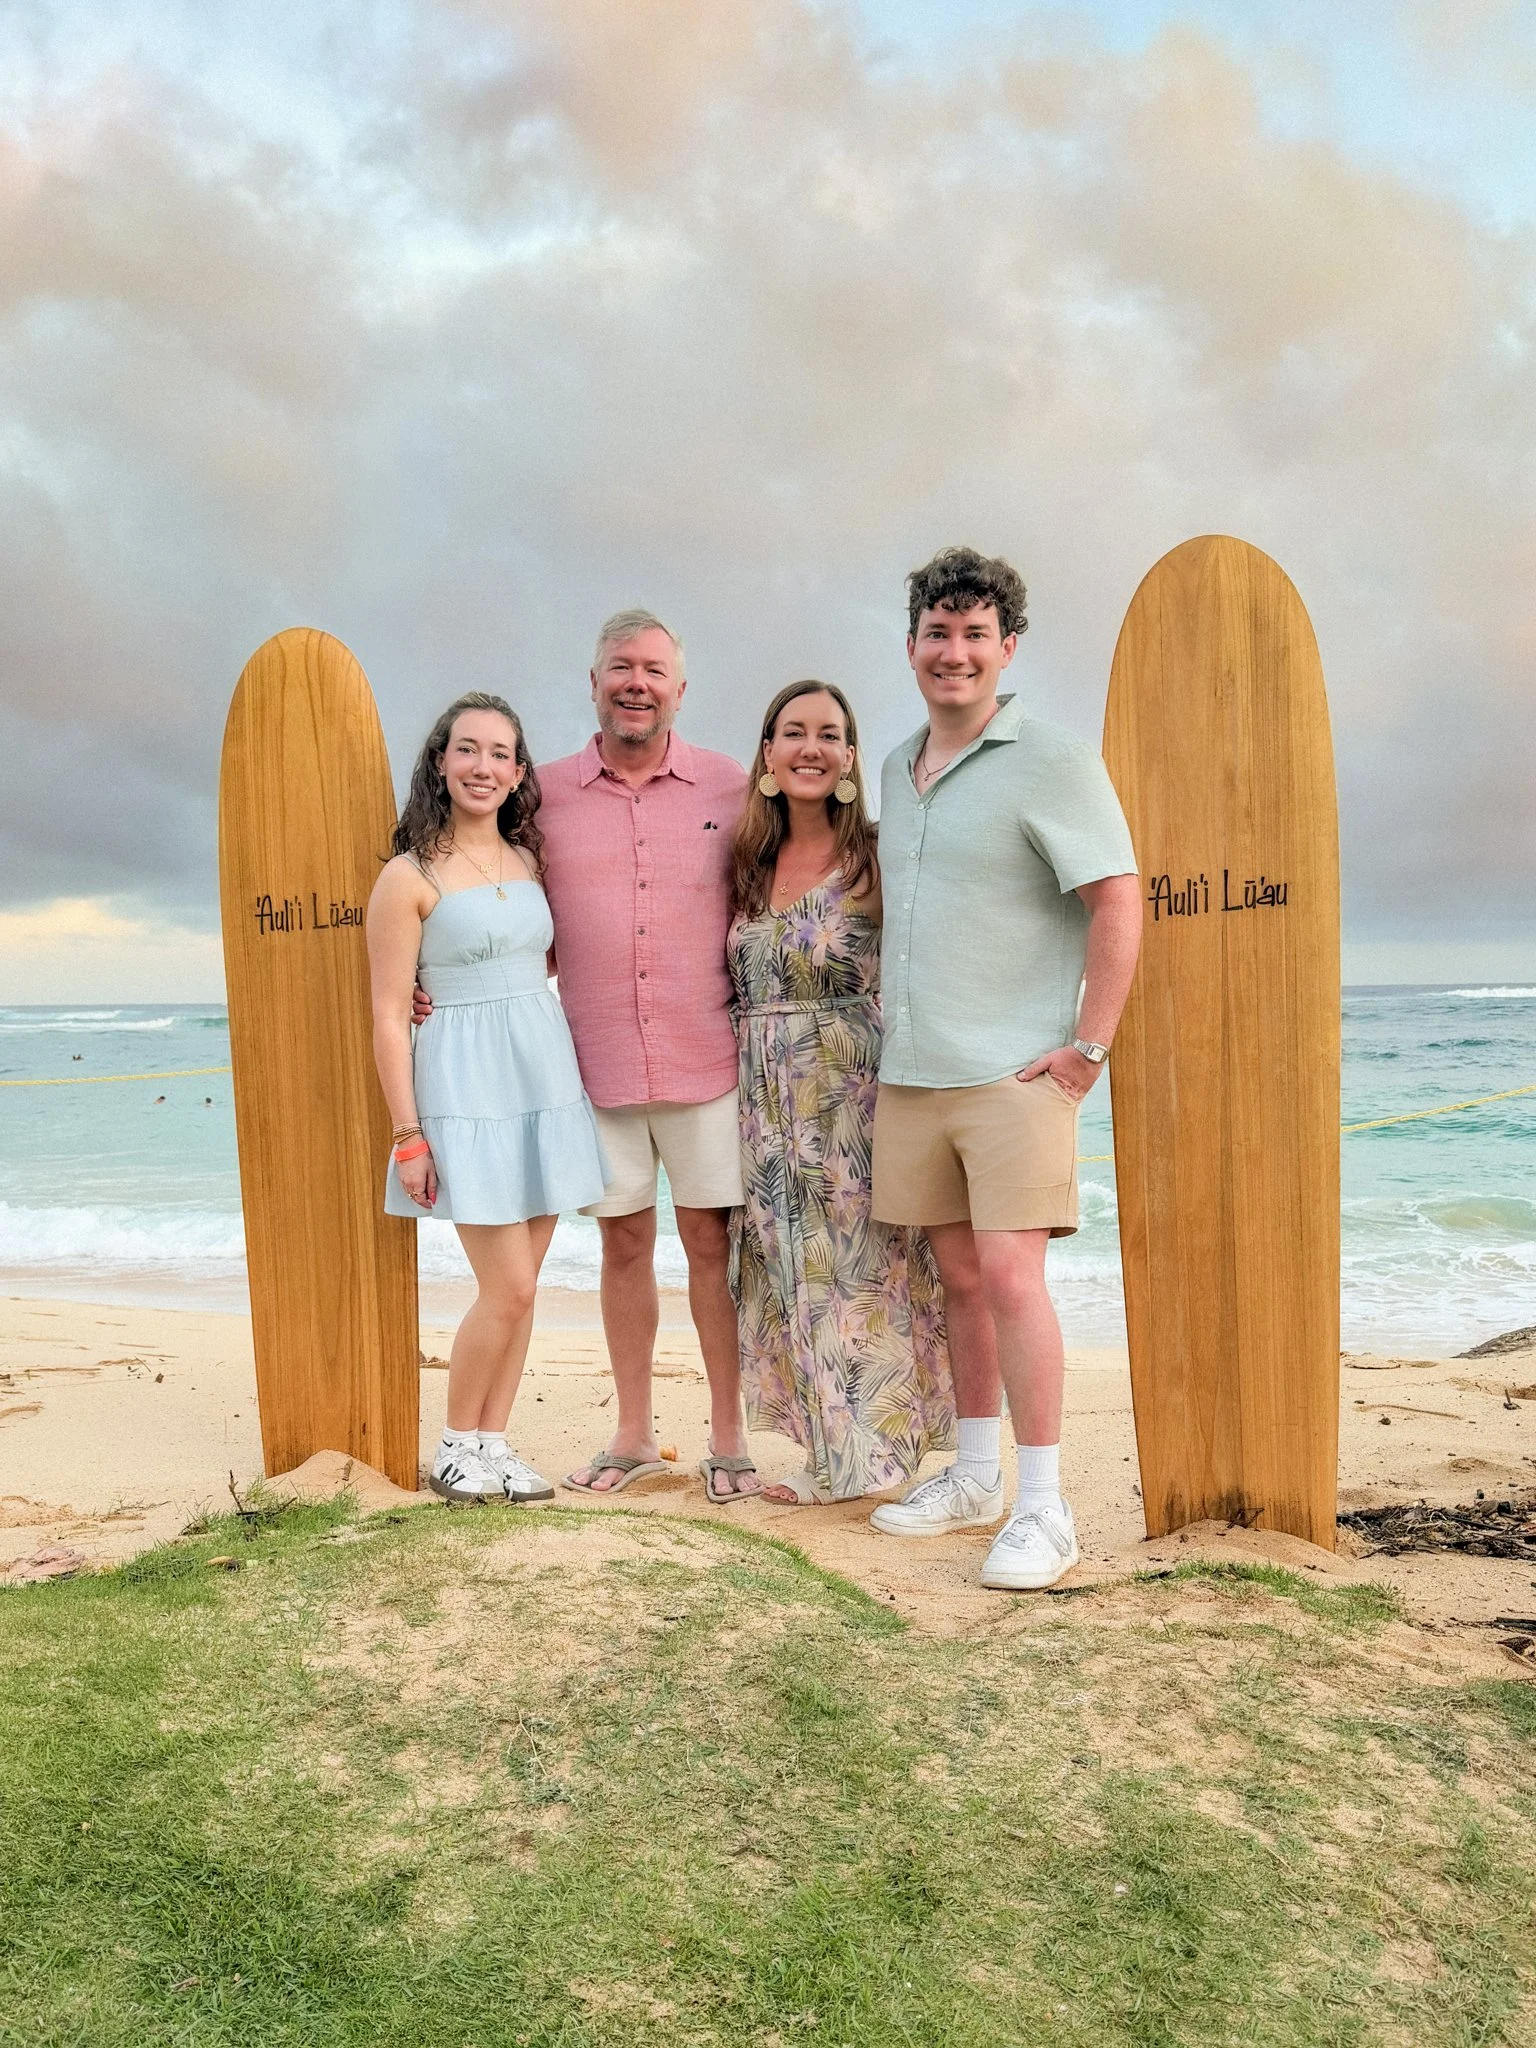
Capture interaction! The best vacation photos happen when people are talking, laughing, walking, looking at each other—not just posed at the camera.
7. BASIC EDITS IN THE PHOTOS APP
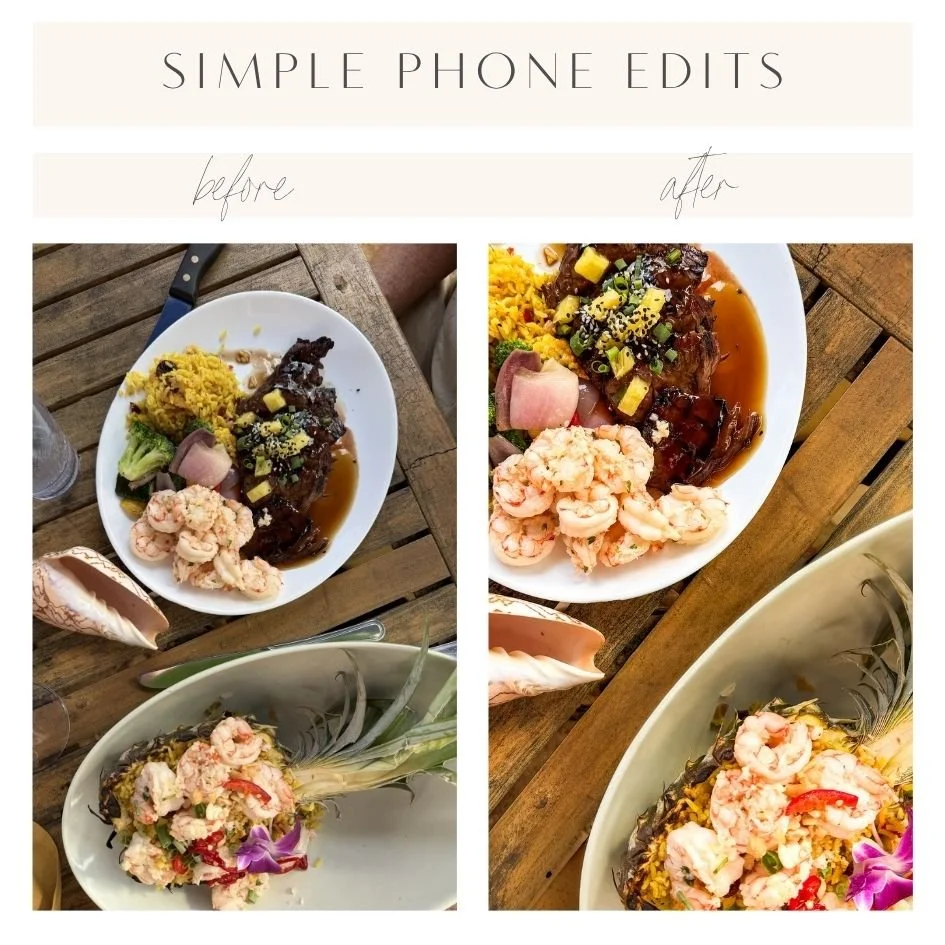
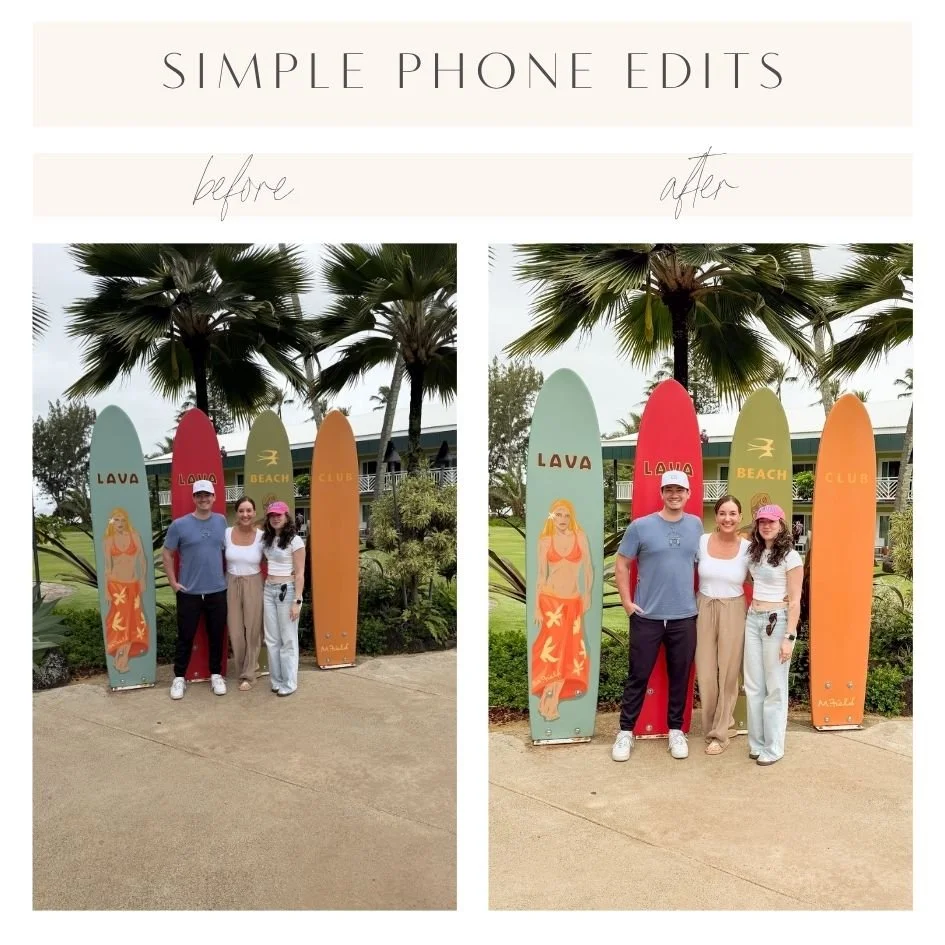
IMPORTANT: Simple editing is the number one thing I see that can improve people's phone photos!!
Small adjustments make a big difference.
Straighten first (Crop → Straighten) — aim for straight horizons and vertical lines
Crop - eliminate distractions and/or crop closer if it makes the photo more interesting
Adjust Exposure
Brighten Shadows
Lower Highlights
Increase Contrast
Increase Vibrance (not too much!)
Be very careful with Saturation! I rarely increase saturation, and often decrease it a bit. Some people way overdo this and end up with fluorescent greens and orange skin.
Add a bit of Warmth
Here are two basic photos - nothing too crazy - but you can see how just a few phone edits improve them:
For more advanced edits, I use Lightroom Mobile - let me know if anyone has interest in advanced editing tips!
8. CAPTURE VARIETY
Big scenes, small details, head-to-toe portraits & close-cropped headshots, vertical and horizontal images.
And if you’re posting or creating a photo book or displaying images, try to vary these - don’t post five photos of a mountain or a flower in row - alternate focal lengths and subject matter to make your post or your photo book or your gallery wall more interesting.
9. ONE LAST THING
Rules are made to be broken — sometimes those imperfect shots will end up being your favorites! A photo taken for the memory is better than no photo at all.
Have fun and always take the photos - you'll be glad you did.
I would love to know if these tips have helped you! Send me your photos, tag me on Instagram, or let me know if you have questions or want more help with anything!